
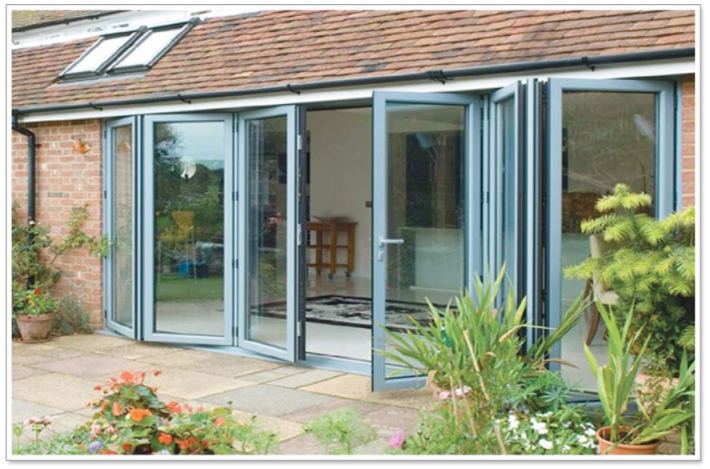
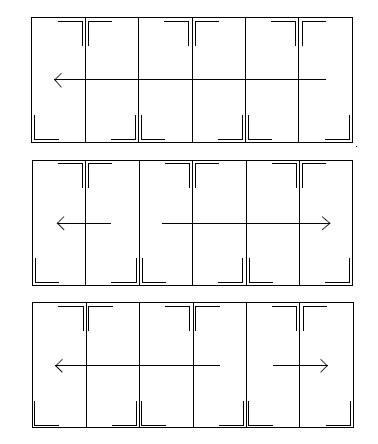
Bi-Folding Doors - Bringing the Outdoors in...
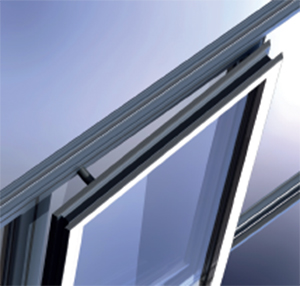
Versatile and sleek, our aluminium bi-fold doors are the perfect accompaniment for our warm room extensions, helping to transform living areas into bright and airy spaces.
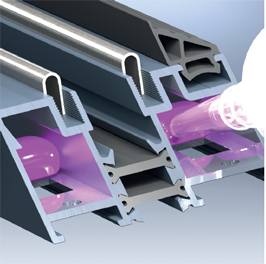
Our bi-folds contain Polyamide thermal barrier technology to help keep rooms warm in the winter, subsequently reducing energy bills.
 High security multi-point locking mechanisms are fitted on opening sashes, with shoot-bolt locking and internally glazed sealed units for added assurance.
Available in any 3 colours grey , white or black our doors are polyester powder-coated for durability to maintain a fresh appearance, year after year.
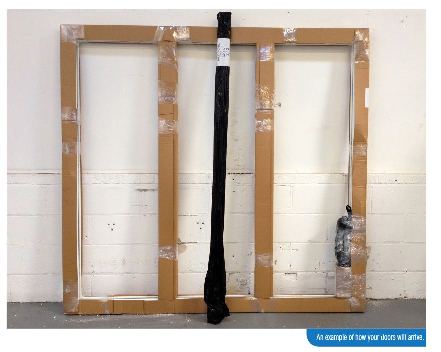
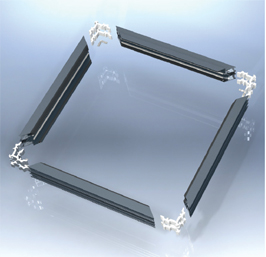
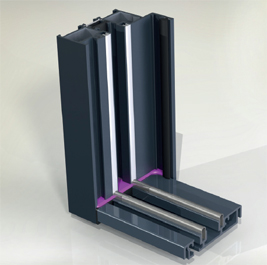
Follow the steps in this section to assemble the outer-frame. This will only be required when your doors are delivered in kit form.
 Lay the outer-frame out on a flat surface and remove the packaging. Be careful to ensure that there is no grit or debris on the surface where you plan to lay the profile out. Once the pieces are laid out and the packaging removed put the top, bottom, right and left pieces of outer-frame roughly in position.
 Using the adhesive provided, apply to the inside of the outer-frame section, just passed both the punched out holes. Do this to each end of all the sections of outer-frame.
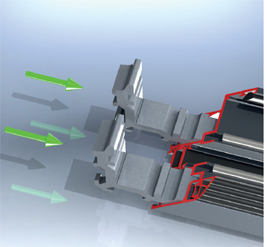 Using silicone sealant, apply to the cross sectional faces of the profiles (see red area on the image to the left). Once applied, insert two cleats into each corner of the top and lower horizontal sections of outer-frame. The cleats are different widths; the wider of the two should be inserted to the door opening side and the narrower cleat to the rebated side.
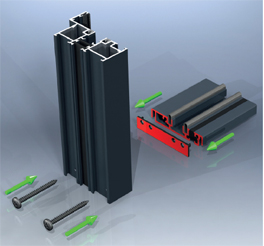
![]() Once the cleats are fully inserted, position the chevron into the alignment slots as shown here in RED. Push the joints together. This is best done by fitting the left and right pieces of outer-frame to the bottom section followed by the fitting of the top piece
Once the cleats are fully inserted, position the chevron into the alignment slots as shown here in RED. Push the joints together. This is best done by fitting the left and right pieces of outer-frame to the bottom section followed by the fitting of the top piece
 With the joint pushed together insert the cleat tensioning blocks into the four slots as shown. Make sure they are seated correctly before continuing.Repeat this step for all four corners.
 Using a 2.5mm hex key, tighten each one in turn. You may find you need to slacken and re-tighten in order to make sure the joint is perfectly aligned. ( This can be a bit tricky so take your time and don't be afraid to slacken and redo if required) Make certain that all four cleat tensioning blocks are tight before moving on to the next corner. Repeat this step for all the corners.
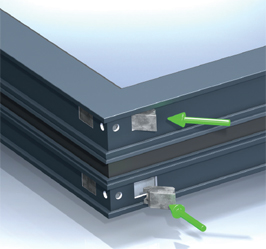
 For the low threshold section of outer-frame, apply silicone sealant to both sides of the end-caps and fit together as shown securing with the screws provided.
 After the two screws are tightened, the finished joint should look like the image to the left.Once both sides are secure, clean down the joint.
 A. Removing the Sashes
For handling reasons, we recommend that the outer-frame is installed without the sashes attached. This is to make it easier for the fitter to position and fix the outer-frame accurately.
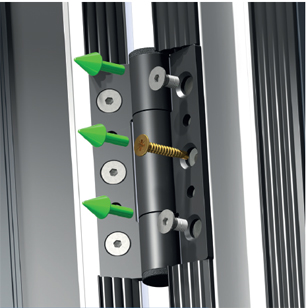
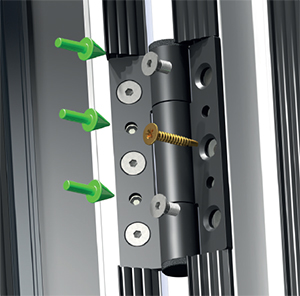
To remove the sashes, undo the five screws on one side of all four hinges for each sash. After the hinges are detached, the sashes with the roller and guide need to be tilted to be removed.
Fix any make up pieces to the door outer-frame at this stage ensuring a bead of silicone is applied to seal the joint.
 B. Fitting the Outer-frame
If your door comes with a sill, fix it to the outer-frame before positioning it into the aperture. If you have opted for no sill then position the outer-frame into the opening.
B. Fitting the Outer-frame
If your door comes with a sill, fix it to the outer-frame before positioning it into the aperture. If you have opted for no sill then position the outer-frame into the opening.
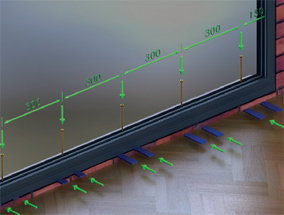
Using a spirit level and tape measure, pack every 300mm around the outer-frame making sure it is level and plumb. Use a tape measure to check the diagonals are equal to ensure the outer-frame is square and use a plumb line to check all the sections of outer-frame are straight and not bowed.
Position the packers either side of the fixing screws so when tightened it doesn't pull the outer-frame and distort it.
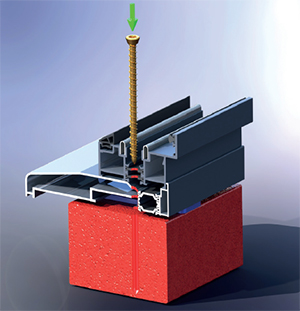 Once the door outer-frame is plumb, level and square, fix to the surrounding brick work. We recommend you fix through the thermal break using concrete screws.
 C. Refitting the Sashes
To refit the sashes, position each sash in turn into the outer-frame and re attach using the hex head machine screws and the central self tapping screw

After you have toe and healed each sash and checked the operation, you will need to fit the glazing beads. To do this replace them in the same order they were removed and secure by fitting the glazing tear off gasket supplied.
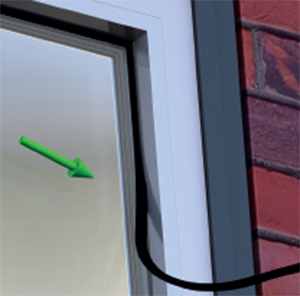
To stop the traffic door from swinging in the wind when open, there is a magnetic catch supplied.
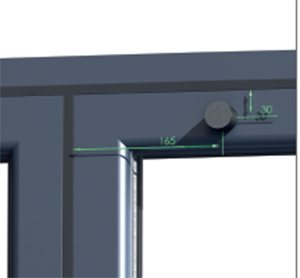
Following the instructions in the magnetic catch box, install one half 165mm in and 30mm down on the top of the opening end of the traffic door.
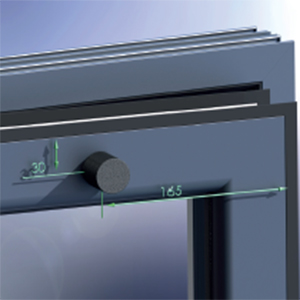
Install the other half in the same manner on the sash next to the traffic door so when fully open the two halves connect as shown opposite.